Why Zwift Watts and Your Power Meter Disagree
Zwift power numbers have gotten complicated with all the conflicting advice flying around. As someone who’s been juggling a smart trainer alongside a crank-based power meter for three full seasons now, I learned everything there is to know about why these two devices refuse to agree. Today, I will share it all with you.
Here’s where the confusion actually starts. Zwift can pull power readings from two completely different sources — and it doesn’t always pick the one you’d expect. Your smart trainer estimates watts by measuring resistance and wheel speed. Your external power meter — a Stages left crank, a 4iiii single-sided unit, a dual-sided Assioma, whatever you’re running — measures force directly at the pedal. Fundamentally different approaches. Zwift defaults to your trainer’s number unless you manually override it. That one default setting causes probably 80 percent of the headaches I’ve seen.
But what is the “Power Source” setting, exactly? In essence, it’s the device Zwift actually reads watts from. But it’s much more than that — because Zwift also needs a separate “Controllable” device to receive resistance commands for ERG mode or slope simulation. Most riders never touch either setting. Trainer stays as both. Numbers look wrong. Everyone blames the hardware.
Check Which Power Source Zwift Is Actually Using
Probably should have opened with this section, honestly. It fixes the problem for roughly 40 percent of people before anything else needs touching.
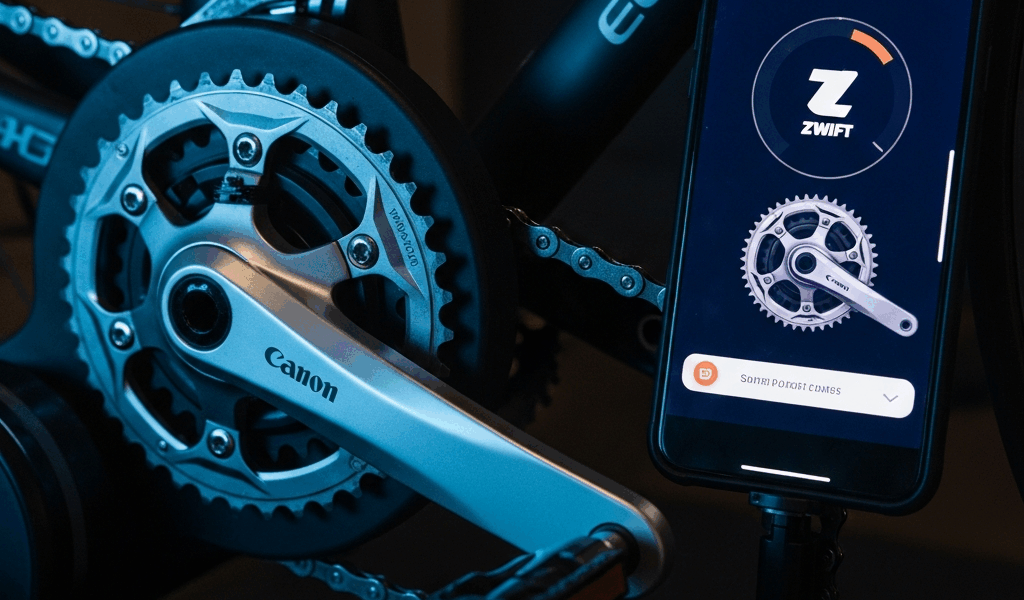
Open Zwift. Hit Pairing. Look at what’s listed.
You’ll see something like this in the pairing screen:
- Power Source: [Your Trainer Name]
- Controllable: [Your Trainer Name]
- Heart Rate: [Your Device]
- Cadence: [Your Device or Trainer]
That Power Source line is the one that matters. If it’s showing your trainer name but you’ve got a power meter on the bike, Zwift is ignoring the meter entirely. The numbers disagree because Zwift was never reading the meter to begin with. Simple as that.
Now check whether your power meter even appears in the pairing list. Sometimes it doesn’t show up at all — not a calibration problem, just a connectivity one. The meter paired fine to your Garmin or Wahoo head unit but Zwift can’t see it. Pull the battery for 10 seconds, reinsert, rescan. Running ANT+? Make sure it isn’t simultaneously paired to another ANT+ dongle on the same machine. Two dongles fighting over one sensor produces exactly nothing useful.
One more thing. If your trainer and power meter show up with suspiciously similar names — “Tacx Neo” and “Tacx Power Meter,” for instance — double-check you’re tapping the right entry. I’ve watched people grab the trainer’s internal power reporting instead of the actual meter. More than once. Don’t make my mistake.
Calibrate Both Devices Before Comparing Numbers
Comparing uncalibrated devices is meaningless. Don’t skip this.
Smart trainer first. Run a spindown calibration — most trainers walk you through it in their own app, and I’d use the manufacturer app over Zwift’s built-in calibration whenever possible. A spindown takes maybe two minutes. You coast down from speed, the trainer clocks your deceleration, adjusts its internal math. Temperature matters more than people realize here. A Wahoo Kickr or Tacx Neo can drift 10 to 15 watts across a 20-degree temperature swing. Calibrate after 10 minutes of easy spinning. Never cold.
Power meter next. Zero-offset it. Stages units have a physical button on the unit itself. 4iiii devices zero through the 4iiii app. Assioma pedals do it through Favero’s mobile app. Same rule applies — warm the drivetrain up first, then zero. Mounting a cold meter and immediately zeroing it is a great way to get numbers that drift the moment you actually start pedaling.
Here’s a detail most guides skip entirely. Spindown calibration tests steady-state coasting. Real pedaling — especially hard pedaling at threshold — introduces different mechanical variables that no calibration fully captures. That’s why two correctly calibrated devices can still show a 5 to 10 watt gap under load. Not a failure. Measurement variance at different points in a mechanical system. That’s what makes power measurement endearing to us data-obsessed cyclists — it’s never quite perfectly clean.
How Big a Gap Is Actually Normal
High-end power meters are spec’d at plus or minus 2 percent accuracy. Sounds tight. Do the math at 250 watts — that’s a 5-watt window. At 350 watts, you’re looking at 7 watts. Most smart trainers claim 2 to 3 percent, but real-world trainer-to-meter gaps of 5 to 15 watts are completely within normal range. Nobody talks about this enough.
I spent an entire weekend convinced my Stages Gen 3 was defective. Zwift was showing 280 watts. My Kickr was reporting 295. I recalibrated both four times. Checked the Stages app. Posted in three forums. Turns out both devices were reading correctly — I just hadn’t owned a power meter before and had no frame of reference for normal variance. That was a humbling Saturday afternoon.
Single-sided meters add another wrinkle. A Stages left-crank unit — or any left-only setup — measures one leg and doubles the number. Your trainer measures total power at the rear hub. On any given ride, your left and right legs aren’t producing identical output. A 10-watt difference between a doubled single-sided reading and your trainer’s hub measurement isn’t an error. It’s physics.
I’m apparently left-leg dominant and my Stages reads consistently 8 watts higher than my Kickr at tempo effort. Works for me as a training reference while a right-only setup would probably never match. Know your equipment.
The rough rule: gap under 10 watts at moderate intensity probably means normal variance or a minor setup issue. Consistent 30-plus watt gap means something is actually wrong — calibration, pairing, or a sensor fault worth investigating.
When to Override Trainer Power With Your Power Meter
If you’ve got a quality power meter — Stages, 4iiii, Quarq, Assioma — use it as your power source. It’s more accurate than the trainer’s internal estimate. Full stop.
Open Zwift. Pairing screen. Tap the Power Source field. Select the power meter. Then set Controllable to the trainer. That’s the whole configuration. Zwift reads watts from the meter, sends resistance commands to the trainer. ERG mode works. Slope mode works. Everything behaves normally — you just get cleaner numbers now.
The pairing screen doesn’t always make this obvious, which is a Zwift UI problem honestly. Some versions bury the Power Source field until you actually tap it. On older interface versions you might need to swipe left on the trainer entry to surface the options — look for a pencil icon or a small edit button. So, without further ado, find it and fix it.
After making the switch, Zwift’s watt display should track your power meter within 2 to 3 watts. If it still doesn’t match, the calibration step wasn’t completed correctly. Go back. Zero-offset the meter again after a full warmup. Run another spindown on the trainer. The gap will close.
One-line fix for skimmers: Set your power meter as the Power Source and your trainer as Controllable in the Zwift pairing screen, then calibrate both devices after a 10-minute warmup.


Stay in the loop
Get the latest cycle train central updates delivered to your inbox.