Wahoo KICKR Core Noise After Update — How to Fix
KICKR Core troubleshooting has gotten messy with all the firmware speculation flying around. You updated last week, the first ride felt fine, and then somewhere around session three a grinding or clicking noise showed up — timed perfectly with your structured training block, naturally. Now it’s 10 p.m. on a Tuesday and you’ve got a workout tomorrow.
As someone who spent two hours debugging this exact situation in late 2023, I sat down and learned post-update noise on the KICKR Core. Today, I will share it all with you.
The short version: firmware updates don’t physically break parts. What they do is shift how the resistance motor loads across your power range. That shift exposes things — marginal belt tension, a finger-tight skewer, debris you forgot about. Most of this is fixable. So, without further ado, let’s dive in.
What Kind of Noise Are You Hearing
Identify the noise before you touch anything. Seriously. This narrows your diagnosis from “something is wrong” to “here’s the specific thing that’s wrong.”
But what is a post-update noise, really? In essence, it’s a mechanical condition that was already developing — the firmware just pushed it over the audible threshold. But it’s much more than that. The type of sound tells you almost exactly where to look.
A grinding or gritty sound under load — especially one that gets coarser as your power climbs — usually points to belt tension or debris caught near the flywheel. A clicking or ticking that syncs with your cadence, or spikes hard during sprints, almost always comes from the axle adapter, the quick-release skewer, or the thru-axle interface. I’d bet on this one more often than not. A whirring or humming that shifts pitch as the flywheel spins faster is typically bearing-related or a flywheel balance issue — though motor interference is also possible after certain firmware changes.
That’s what makes noise diagnosis endearing to us KICKR Core owners. Each sound is basically a ZIP code for the actual problem.
Check the Belt Tension First
This is the piece to know up front. Belt tension is the most common post-update culprit by a significant margin.
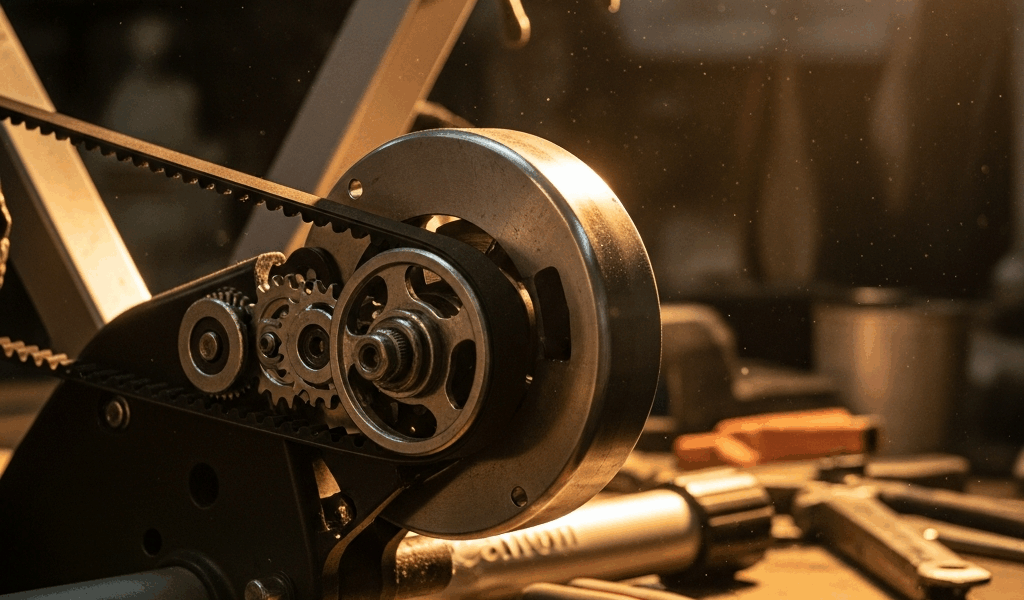
Find the belt access panel on the right side of the KICKR Core — it’s a rectangular rubber cover held by three clips. Pop those clips outward, not downward. They pivot. You’ll see the flat belt running between the motor pulley and the main drive pulley. A slack belt shows visible sag and will slap or squeak once load increases.
Use the thumb-pressure test. Trainer powered off, press your thumb against the belt’s span between the two pulleys. You want roughly 1/4 inch of give under moderate pressure. Not drum-tight. Not jump-rope loose. If it moves past half an inch, it’s too loose — full stop.
Wahoo’s spec sits around 6 to 8 pounds of tension, though I’m apparently not the type to own a belt tension gauge and the thumb test works fine for me while spec sheets never actually help. Don’t repeat what I did of skipping this check entirely just because you don’t have the exact tool.
Tightening the belt means removing the motor assembly — unbolting the entire left side of the trainer. While you won’t need professional tools, you will need a handful of hex keys, patience, and Wahoo’s belt tension video (search “KICKR Core belt tension adjustment” directly on their support site). If that sounds like too much, contact support and mention the loose belt specifically. It cuts the back-and-forth down considerably.
Inspect the Flywheel and Cassette for Debris
Frustrated by a noise he couldn’t locate, one rider I know spent forty minutes checking every bolt on his bike before finally pulling the cassette and finding a compressed wad of chain lube and dust wedged between two cogs. That was 2022. He felt ridiculous. I felt the same when I found dried sweat residue in nearly the same spot.
This new habit of checking for debris before assuming mechanical failure took off several years later and eventually evolved into the first-line diagnostic that experienced KICKR owners know and swear by today.
Remove the rear axle completely. The thru-axle adapter twists counterclockwise to detach from the trainer’s axle stub. Once it’s off, look at the flywheel and cassette for darkened buildup, lint, or anything packed between cogs. Clean with isopropyl alcohol — 91% or higher — on a lint-free cloth. Wipe the flywheel surface, between cassette teeth, and the axle adapter contact points.
Do not use compressed air into the motor housing. You’ll push debris deeper into the gearbox or damage the seals. Cloth only.
Debris noise tends to be intermittent and RPM-dependent. If the sound only appears at 85 cadence or only during high-power sprints, debris is worth suspecting even when you can’t see anything obvious. Particles small enough to cause friction aren’t always visible.
Reseat the Axle Adapter and Check Skewer Torque
First, you should rule out the axle interface entirely — at least if you’re hearing a clicking sound that tracks with sprint efforts or high-wattage intervals. This one surprises people. A slightly misaligned thru-axle or a finger-tight quick-release creates clicking that sounds internal when it’s actually at the bike-to-trainer contact point.
Pull the axle adapter completely. Clean the threading on both the adapter and the trainer’s axle stub using isopropyl alcohol. Inspect for stripped threads or cracks — either means replacement, not re-torquing. Reseat the adapter until snug. Firm contact is the goal, not maximum force.
For quick-release skewers: remove entirely, clean contact surfaces on both sides, reseat with moderate hand tension. The lever should require real pressure to close — not palm-destroying force, but definitely not casual. If you have a torque wrench, thru-axle target is 5 to 8 newton-meters. Without one, snug-plus-a-quarter-turn is the right feel.
A thru-axle torque wrench might be the best option here, as proper axle seating requires consistent force. That is because lateral load during sprint efforts — easily above 300 watts on a structured workout — will rattle anything that’s 10 percent loose in a way that sounds catastrophic but actually isn’t.
When to Roll Back the Firmware or Contact Wahoo
If you’ve run through all the physical checks, found nothing obviously wrong, and the noise appeared within one or two rides of the update — firmware as the actual cause is worth pursuing.
Open the Wahoo app. Go to Settings, find Device Information or Trainer Settings depending on your app version, and write down the exact firmware version number. Don’t screenshot it — write it down somewhere you won’t lose it.
Wahoo’s rollback policy is limited. They generally won’t support rolling back without direct support involvement, and some older firmware versions aren’t available anymore. But they can sometimes try, and occasionally a hotfix build is already in development for a known issue.
Email support@wahoofitn.com directly — or open an in-app ticket. Include your exact firmware version, the update date, a specific noise description, and ideally a 15-second video captured during a ride. Mention that you’ve already checked belt tension, cleaned the flywheel and cassette, and reseated the axle adapter. Response time typically runs 24 to 48 hours. That detail list cuts the diagnostic back-and-forth down by at least one full exchange, in my experience.
Be realistic. Sometimes what the firmware exposed is a bearing that needs warranty service — not a software fix. The physical checks you’ve done aren’t wasted effort. They’ve eliminated roughly 90 percent of the problems that get misattributed to firmware in the first place.


Stay in the loop
Get the latest cycle train central updates delivered to your inbox.